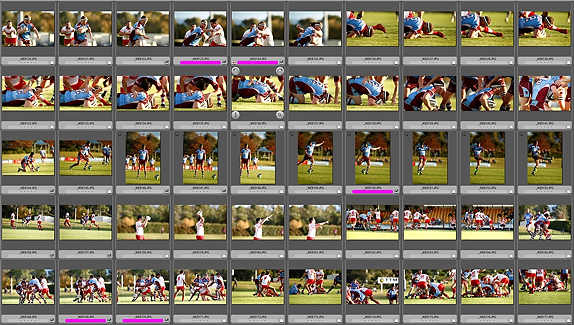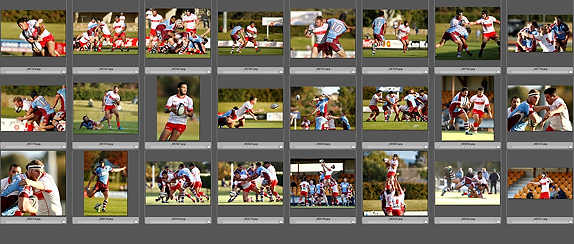
A little time spent culling your photos will save you a lot of time during the editing stage of your workflow.
Don’t confuse yourself with rating or rejecting photos and then working out which photos to edit. It’s not the fastest, most efficient use of your time.
By only tagging the photos that you wish to edit, rather than excluding the photos you don’t want. Will speed up your culling by a considerable amount.
I’ll be explaining the fastest way to cull your photos in Photo Mechanic, Adobe Bridge and Adobe Lightroom classic cc.
I promise you that with a little practice you will be able to cull a whole weddings in under an hour and portrait sessions with in 15 minutes.
On average I take anywhere from 2,000 to 3,000 photos per wedding and I can do the whole culling process within an hour.
Portrait sessions and any other type of photography literally take 15 minutes if not less.
What Is Culling Your Photos
To cull your photos in photography means, to get rid of all the bad photos so you are left with only the good usable photos.
The term culling can also be referred to as sorting your photos. Essentially what are doing is going through a group of photos and taking out the bad ones photos, such as poorly composed photos, photos that are not In focus, photos of people that have their eyes closed, even photos that are severely overexposed or underexposed.
Photos that you cull, sort or remove have a common theme, Which is you wouldn’t consider editing because they are unusable or too much work to fix.
Why Culling Your Photos Before You Start To Edit Is The Right Way
It’s important to cull your photos before you edit to avoid being overwhelmed with choice, making mistakes and leaving out photos. It also makes it easier to delete the dud photos to save hard disk space.
Think about it this way.
You have come back from a shoot with 800 photos. To look at so many photos at once and start editing without culling can take a lot long to finish your edit.
Your mind is split in two, culling and editing.
You start to cull your photos, you happen to find a photo you like and spend a few minutes editing and then the process to cull starts again, until you find another photo to edit and so on
You can see how your train of thought gets broken.
Keep your mind on one task at a time. Cull first, edit your photos 2nd.
Here is another scenario.
You have taken 2000 photos at an event or while on holiday. There are sections of your shoot where you have taken multiple photos of a similar scene. Now you have to stop and asses similar photos before choosing one to edit.
The whole process get dragged out by trying to do two tasks at one. That’s why it’s important to cull your photos before you start editing.
Start Culling In Camera If You Have The Option
You can start to cull your photos while you have a quiet moment while photographing. All modern cameras have the option to protect images on a memory card.
This option was originally designed to avoid deleting images while reviewing on the back of the camera. Although you can still format your memory card, just not delete.
Some cameras have a button assigned to this task. It’s represented by a picture of key. While other cameras require you to dig through a menu.
By marking your photos as protected your editing software reads this as a tag. Which can be used as a way to select photos to edit.
I use in camera tagging during down time at a shoot. Where I will start protect my photos and double check when I view on a larger screen.
Don’t Rate Your Photos, At Least Not Yet!
Using the star rating to choose which photos to edit is not very efficient way to cull. 5 stars for favorites, 4 stars are maybe, 3 stars take a 2nd look etc…
I’ve tried this and I had a hard time deciding between the maybes and favorites, basically too many options.
Personally, If you’re going to be editing your photos you should should only be editing photos that are worth showing.
A better use of the star rating system would be to assign each star a task e.g 1 star upload online, 2 stars post to blog, 3 stars for the album etc…
You could also use the colour labels in a similar way, each colour assigned a task.
The Most Efficient Way To Cull Your Photos
Remember you are ONLY going to tag or select the photos you want to edit.
A one key stroke of the keyboard and then move on to the next photo, passing by the out of focus, badly composed, severely overexposed and underexposed photos.
If you have multiple photos from the same scene and 2 or 3 photos are the best because they have slight variations or your not sure, that’s fine tag all 3 and move on.
It’s during the editing stage when you can make the decision which to edit. Sometimes editing all 3 photos is necessary like for a wedding or an event.
The more you practice this technique the faster you become. Trust your gut feeling and your experience as a photographer.
You know what a properly exposed or composed photo looks like. Or what a photo can look like after you edit it.
It’s important to make two passes during the culling stage to avoid missing any photos.
The first pass is quick as you tag the obvious best ones. The second pass is making sure you didn’t missed anything and for the photos that you weren’t sure of.
The next step would be to filter and show only the tag photos. Copy those photos to a separate folder called selects and import into your favourite editing software like Lightroom classic.
A whole wedding can be culled in under an hour. Portrait sessions and small amounts of photos can be done within 10-15 minutes.
If you are using Lightroom classic, on import make Lightroom to import from the current location, by selecting the add option.
When I editing with Adobe Photoshop or Adobe Elements , Simply open the photo directly from the selects folder and save the edited photo to a folder called processed, so the original is still intact.
Remember how I said to copy the tagged photos in to a select folder? You have no use for those photos any more since your selections are in a different folder.
Once all editing have been completed and you have uploaded to the web and handed over the edited photos to your client. Go back and DELETE all the original photos.
I save 50 GB per wedding by doing that simple step and it’s also the reason i prefer to cull outside of Lightroom classic cc!
RECOMMENDED READING: Organising Your Photos With A Simple Folder Structure.
Using Photo Mechanic To Cull Your Photos

If you haven’t heard about Photo Mechanic. It’s used mostly by editorial photographers to caption, keywords, select and upload images all from one application. It is a photo browser so it’s main strength is looking at a large amount of photos in full screen very fast. Even full raw files. I LOVE IT
Before you begin make sure auto advance is on:
Edit > Preferences > Preview Tab
Under the option of automatically advance to the next photo when: Make sure to check “tag is changed” is selected.
Some keyboard shortcuts to remember:
F1 – view all photos
F3 – view tag photos
F4 – view untag photos
- Once you have either die a drip coffee from the memory card to hard drive or use photo mechanic to copy it to your hard drive.
- Open the folder full of photos that you wish to cull.
- Double click on the first photo this will make it full screen.
- Use the arrow keys to go forward or back
- Use the ” T ” key To tag your photos. every time you hit the T key it will Auto advance to the next photo.
- Once you have done your first pass press the F4 key this will only display the untag photos
- Start a second pass of your photos.
- Once finished culling press the F3 key and this will display all tagged photos
(WIN ) CTRL + A (MAC) CMD + A to select all photos, right click and choose “ copy selected photos” - Copy your selected photos to a separate folder and use thoes photos to import into Lightroom classic or edit via Photoshop.
Culling Your Photos In Adobe Bridge

If you have Adobe Photoshop or subscribe to Creative Cloud you will have access to Adobe Bridge.
Adobe Bridge has definitely come a long way when I first used it about 5 years ago. The interface has improved over time and the inclusion of a review mode makes culling easier.
It doesn’t have a tag option like photo mechanic. So you will have to use the star rating or the colour labels to tag your photos.
I recommend using the 1 star rating for photos selects. CTRL +1 with your left hand and using the arrow keys with your right hand to go forwards or backwards between photos.
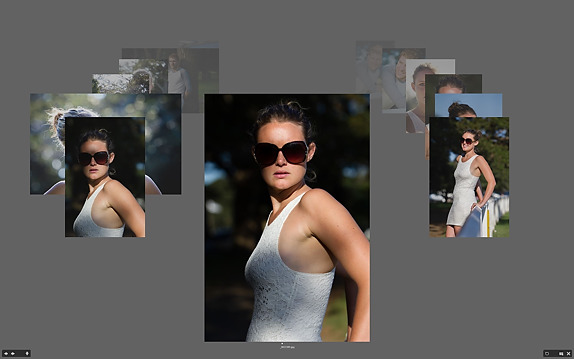
Adobe Bridge has a review mode ( shortcut CRTL + B ) Which will enlarge your photos and allow you to cycle through them quite quickly with the arrow keys.
- Open your folder of photos with Adobe Bridge
- Use the keyboard shortcut ctrl d to put Adobe bridge into review mode
- Using the Keyboard shortcut CTRL + 1 to apply 1 star to a photo and the arrow keys to advance to the next photo.
- Once you have tags all your photos press the escape key to exit out of review mode
- Using the filter panel on the left-hand side Select one star As a result anything that doesn’t have 1 star will be filtered out.
Select all images will 1 star, Right click and mouse to “ copy to “ , then click on Choose folder… - Copy your started photos to a folder called selects. These are the photos that will be imported into Lightroom classic or opened via Photoshop.
Culling Your Photos In Adobe Lightroom Classic CC

Adobe Lightroom classic is a powerful tool for photographers. Most of the time you can do all your editing in one application.
I recommend that you cull your images before you bring them into Adobe Lightroom classic.
If you don’t have an external photo browser or access to Adobe Bridge. This how you would cull your images in Adobe Lightroom classic.
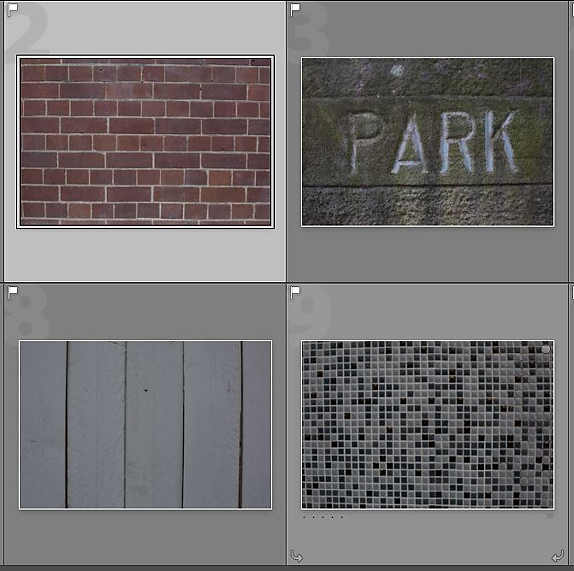
Using the ” P “ key to pick or tag a photo in Lightroom classic cc.
- Open Adobe Lightroom classic and either using an existing catalogue or create a new one.
- From the grid view press ctrl + shift + I to bring up the import dialogue or simply use the import button bottom left hand corner.
- Select images from a source folder, make sure you have build 1:1 previews selected. And it’s up to you if you want to copy move or add your photos. I would wait for the 1 : 1 previews to build before you start culling as it does speed up the process.
- Used the “ P “ key to tag only the images that you would like to edit.
- Use the filter option in the bottom the right hand corner and filter out only the images that you have selected.
You can see why I’m a big advocate of culling your photos first and editing them 2nd. It’s ok if you select more images than you intend to edit. It is still a lot better than having thousand images to edit from.
Once done with your editing it’s a good idea to rate or label your photos. It can be a way to select which photos to post online, give to the clients or print off.
I’ve shown you three way to cull your images. Whatever way you choice you make, stick with it and in no time your photography workflow will be more efficient.
Leave a Reply
You must be logged in to post a comment.